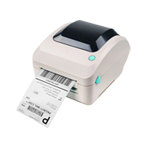
Printing a Test / Configuration Page is a procedure that is useful in helping our Technical Support Team gather information about the printer, it is also helpful in testing the functionality of the printer and the labels without needing a computer.
There are two methods to perform this task, please see the first tab below to determine which method will work best with your printer:
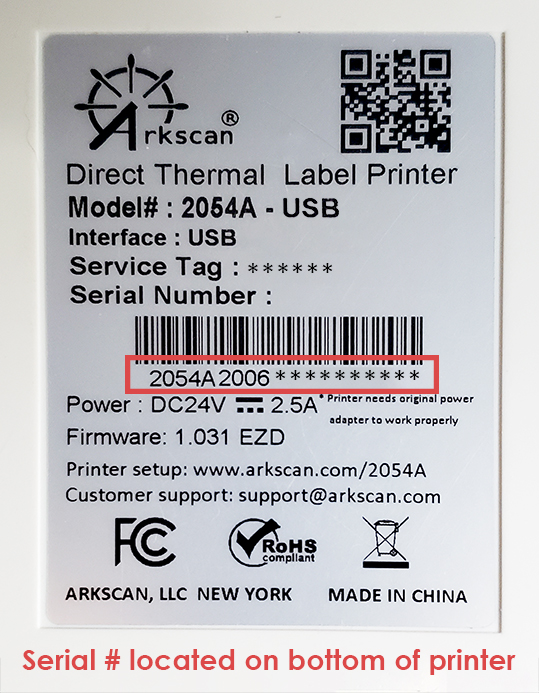 To determine which method to use when printing a Test / Configuration Page, you must first locate the printer's serial number. The serial number can be found on the bottom side of the printer, below the barcode:
CURRENT VERSION METHOD:
All 2054K****** Serial #
All 2054N****** Serial #
All 3044C****** Serial #
2054A model with serial numbers above 2005
i.e. - 2054A2006********
PREVIOUS VERSION METHOD:
2054A model with serial numbers below 2006
i.e. - 2054A2005********
Current Release
1. Using the switch in the back power OFF the printer and then back ON
2. Press and hold the button on top of the printer.
- You will hear the first beep in about 2 seconds (RED light)
- Continue to wait another 2 seconds, when you hear the 2 beeps again
3. When the light turns PURPLE, let go of the button immediately at the PURPLE light.
4. The printer will then print a self-configuration page.
NOTE: The configuration page is designed to print on a 4x6 or larger label.
One Hand Test Page (Current Models)
If the method above does not work, you may have a previous model that requires the Two-Hands method.
- Please see the instructions below -
Previous Release
Please run the Two-Hands self-test by performing the following steps:
1. Switch OFF the printer using the switch in the back of the printer.
2. Then PRESS and HOLD the green button on top of the printer, then switch ON the printer while STILL holding the green button.
3. Then let go of the green button immediately when you see a blinking PURPLE light - Note: This is after the printer beeps once, and after blinking a RED light
If this is done right, the printer should behave all of the following:
a. Print out two TWO blank labels, and a third label printed with the print's configuration data.
b. The LED light should become solid Blue
c. The paper label gap should stop exactly on the printer's edge.
d. If the LED light is blue, and you press the green button once, the paper label gap should stop exactly on the printer's edge.
*This procedure also puts the printer into Dump Mode which it's for debugging purposes only, you MUST switch OFF the printer, and then switch ON the printer to cancel the Dump Mode, otherwise you can only see many off FFFF codes on the print out.


